A little bit / a lot of background info before getting into the actual 3d printing.
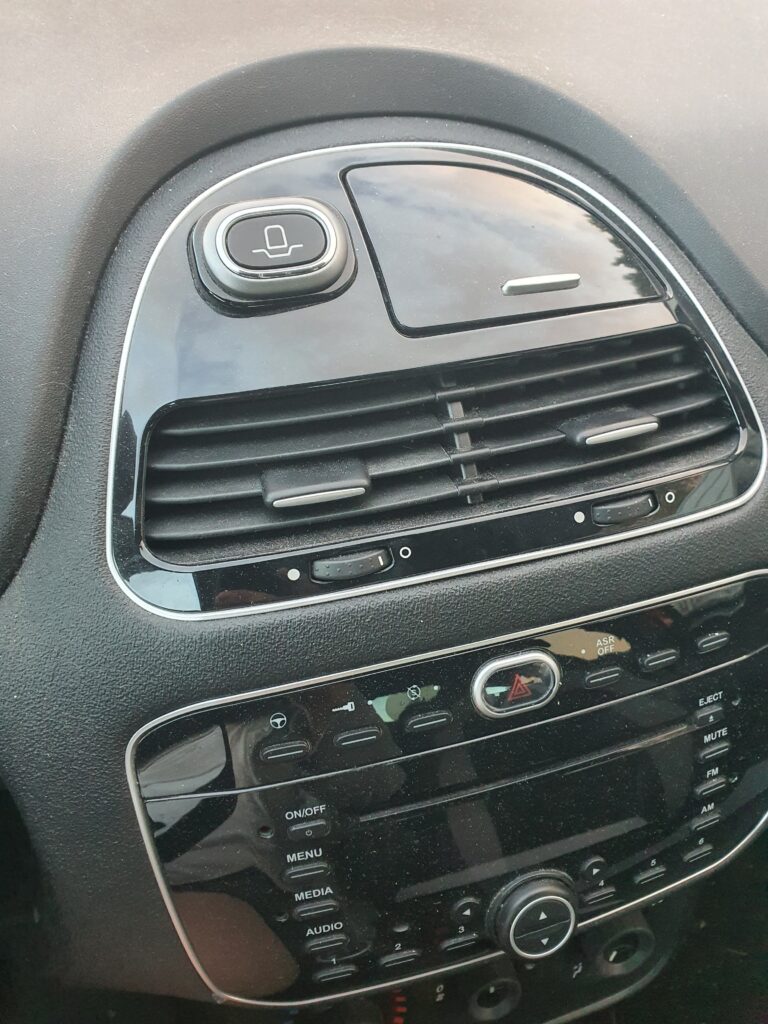
I drive a 2013 FIAT Punto which has a weird socket on top of the center console above the air vents that is designed for a TOMTOM navigation system using a proprietary plug that clips in and connects the GPS unit with the cars computer.
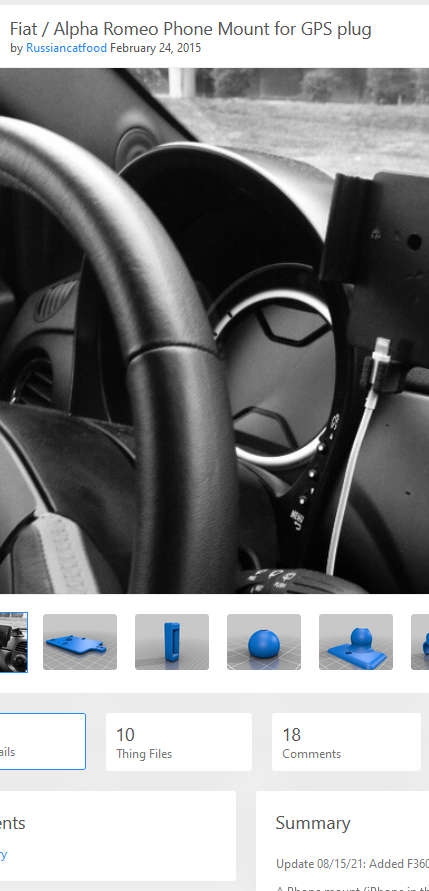
I thought to myself that this would be a great way to mount my phone inside my car as its right in the middle of the dashboard, would be easy to reach and generally be a great location for using google maps and other stuff on the road, so I looked around for a phone holder specifically designed for this socket and I found one. A single one and it was very overpriced.
The “phone mount” I found cost around 250€ not including shipping and it was the most basic ass thing ever. It looked like every single other cheap car phone mount you’d likely get thrown at you by companies with randomly generated names whenever you search for anything related to it on Amazon.
So I started to look around for a better alternative and after about two or three days of searching I found something on Thingiverse that was a basically exactly what I needed. Someone else had the exact same idea as me but actually had the skills and experience to bring the idea to life using 3D modelling software.
I thought to myself that I’ll just go ahead and download this design, send it off to some 3D printing service to have it made for me and that’s gonna be it. No need for any effort on my side and I’ll have the things in a nice quality printed for cheap.
Yeah, no. That’s not how it went.
The quotes I was given were pretty pricey for four pieces of cheap, 3d printed plastic and it basically was almost double the price of the previous phone holder I had at a minimum quote of 56€ for the four pieces to be printed and shipped within 2 weeks.
I sat around in my room, kinda shocked by the cost of these services and the potential cost of this project as I wasn’t really too good at not breaking things whenever I build stuff and I was afraid of paying over 100€ for two chances at doing it right.
The next thing that came to my mind was the possibility that this part might not fit right or the angles being off as it was the same proprietary connector but for a different car. What then?
I did a ton of research and found a few remixes (what Thingiverse calls your modified model based on another users work) that were done to this phone holder or the plug and some seemed promising, but at the end none really fit what I wanted to do with it.
I really wanted to get this thing 3D printed, but I needed to modify it a little and with exactly zero knowledge about how to do this I downloaded the STL files for the parts I wanted and sent them off to a friend who had someone with a 3D printer and could print these few things for me without even asking me to pay him. I was very thankful and not too long after I had my first “prototype” printed in blue ABS plastic.
Not too long after getting the parts from my friend I figured out I needed some hardware to keep this thing together so I went to Amazon and bought a box of different sized hex machine bolts to thread directly into the print and after some thought I picked out two M6 bolts and tried to screw them into the plastic.
Big mistake. The print cracked and I basically destroyed about 15 hours of print time by using the wrong size bolts. The Thingiverse page did say that the original creator used M5 size bolts to put it together but I only found out after making that mistake twice that this was the case and being the neanderthal that I am, the idea of using M6 bolts got stuck in my head for good which caused a whole bunch of issues with the part itself and I had to modify it somehow.
In comes me struggling with 3D modelling software for an entire week before selling all of my personal data to AutoDesk to get a free personal-use-only version of Fusion 360. Once downloaded, logged in and my privacy thoroughly violated (why do you need my home address for a personal use license?) I went back to the Thingiverse page and downloaded the F3D file the creator supplied to make modification possible.
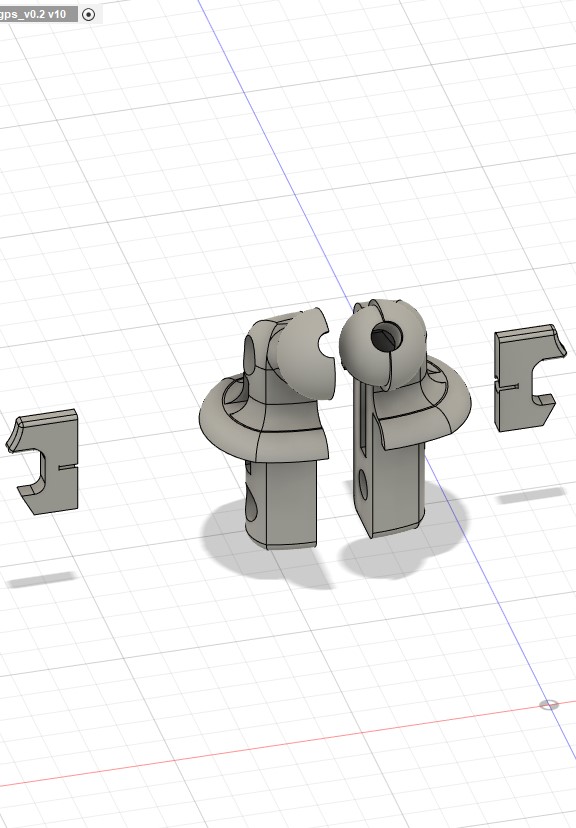
After three weeks of playing around in Fusion 360 I felt competent enough to tackle this model and change a bunch of stuff about it. I hid all of the parts I didnt need as this file included a full on phone mount, but I wanted to do my own thing with it and started right away.
One measurement adjusted here, one hole widened there, two parts welded together into one, one more hole cut through it at an angle and voila, done.
In this screenshot you can see version 10 of my personal v0.2 of the GPS plug, which is what I decided to call it. Now to export every piece into a separate STL file and send all of them to my friend again.
Not too long after sending it off, I got the new parts to assemble and check how I’m gonna fit everything together. I did the same thing as I did before, using M6 bolts to screw the parts together and when I tried screwing the little ball-joint part that came with my existing phone mount into the top of the 3D printed part it just snapped in half. That tiny half circle ball thing (that you can see stick out of the right part in the section above) just snapped off without me getting the threads started properly and I was close to just gluing the entire thing together using cyanoacrylate or some sort of two component epoxy but something inside me, may it be pride or otherwise (probably the neanderthal brain doing its magic), just wasnt having that as the solution and I didnt want to wait on my friend to print another part as he was pretty slow with it. I’m not complaining because he did it for free but if stating a fact is a crime, arrest me. (please don’t.)
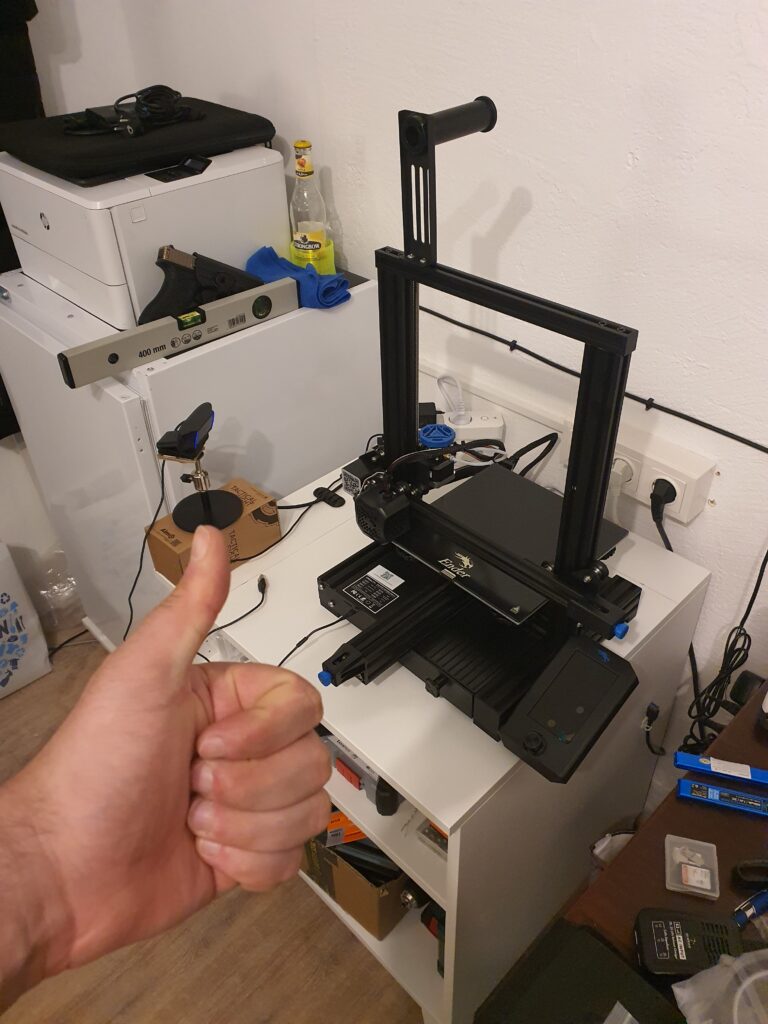
I felt like I should take matters into my own hands, not only to speed up prototyping and making multiple parts at once but also to make my one-person-project a one-person-project again.
So I ordered a Creality Ender 3 V2 with a CR-Touch bed level sensor to make getting up and running easier and faster. And boy, did I get up and running as soon as physically possible. As soon as I was home, I set it up, slammed the material I ordered into the hot-end, did a basic bed level and let the printer do the rest.
Finally having the printer set up and running properly with a good bed level and other such things was about 40% playing around and testing temperatures and 60% installing OctoPi on my spare Raspberry Pi 4 and making it my 3D print controller. The plugins that are available are very helpful to dial everything in, especially the bed level visualizer which helped me get the bed within 0,08mm deviation between all 16 bed level points, and the control and webcam monitoring is really helpful to see how my print is doing if I am doing a long and/or complex print.
I screwed up my bed level a little by covering the main print area with polyimide tape, more commonly known as Kapton tape, but I think that’s more of a brand or product name and not the actual name of this type of tape. I did this because PETG grips very tightly even on a glass bed and buying a new bed for a brand new printer wasn’t on my list of things I was interested in.
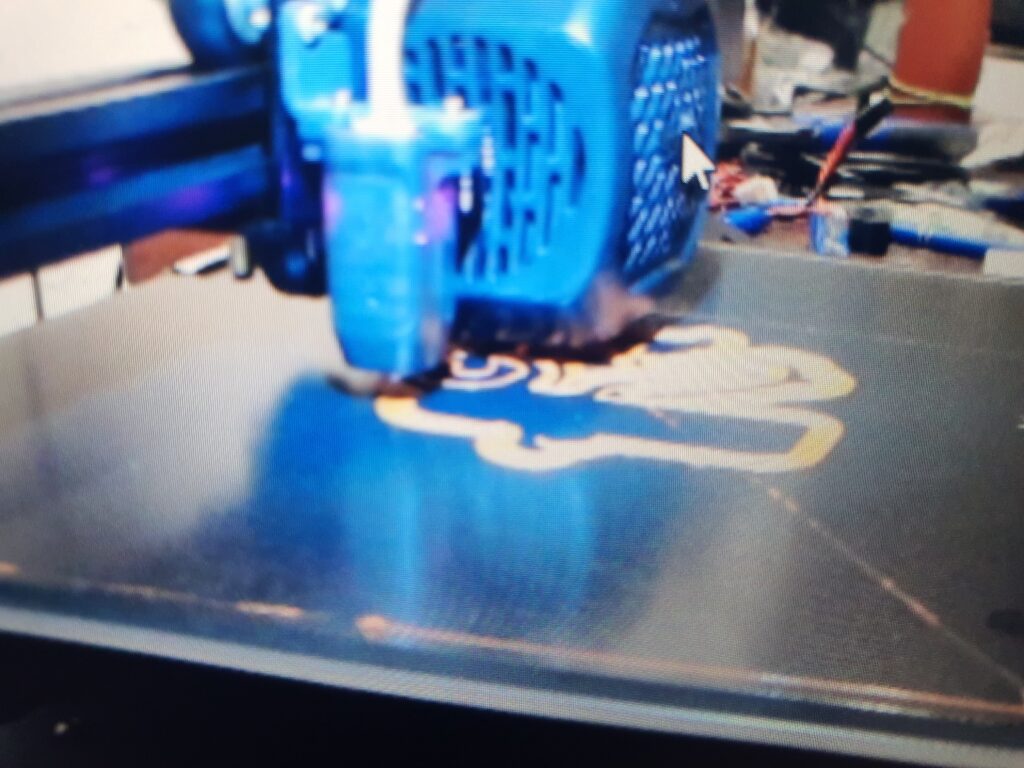
After all this setup and doing some test prints, I finally got to print the parts that I wanted to have printed. I reworked the parts a little before printing to make the print go a little smoother and sliced them in ULTIMAKER Cura.
The first few layers of the print did look a little sus.